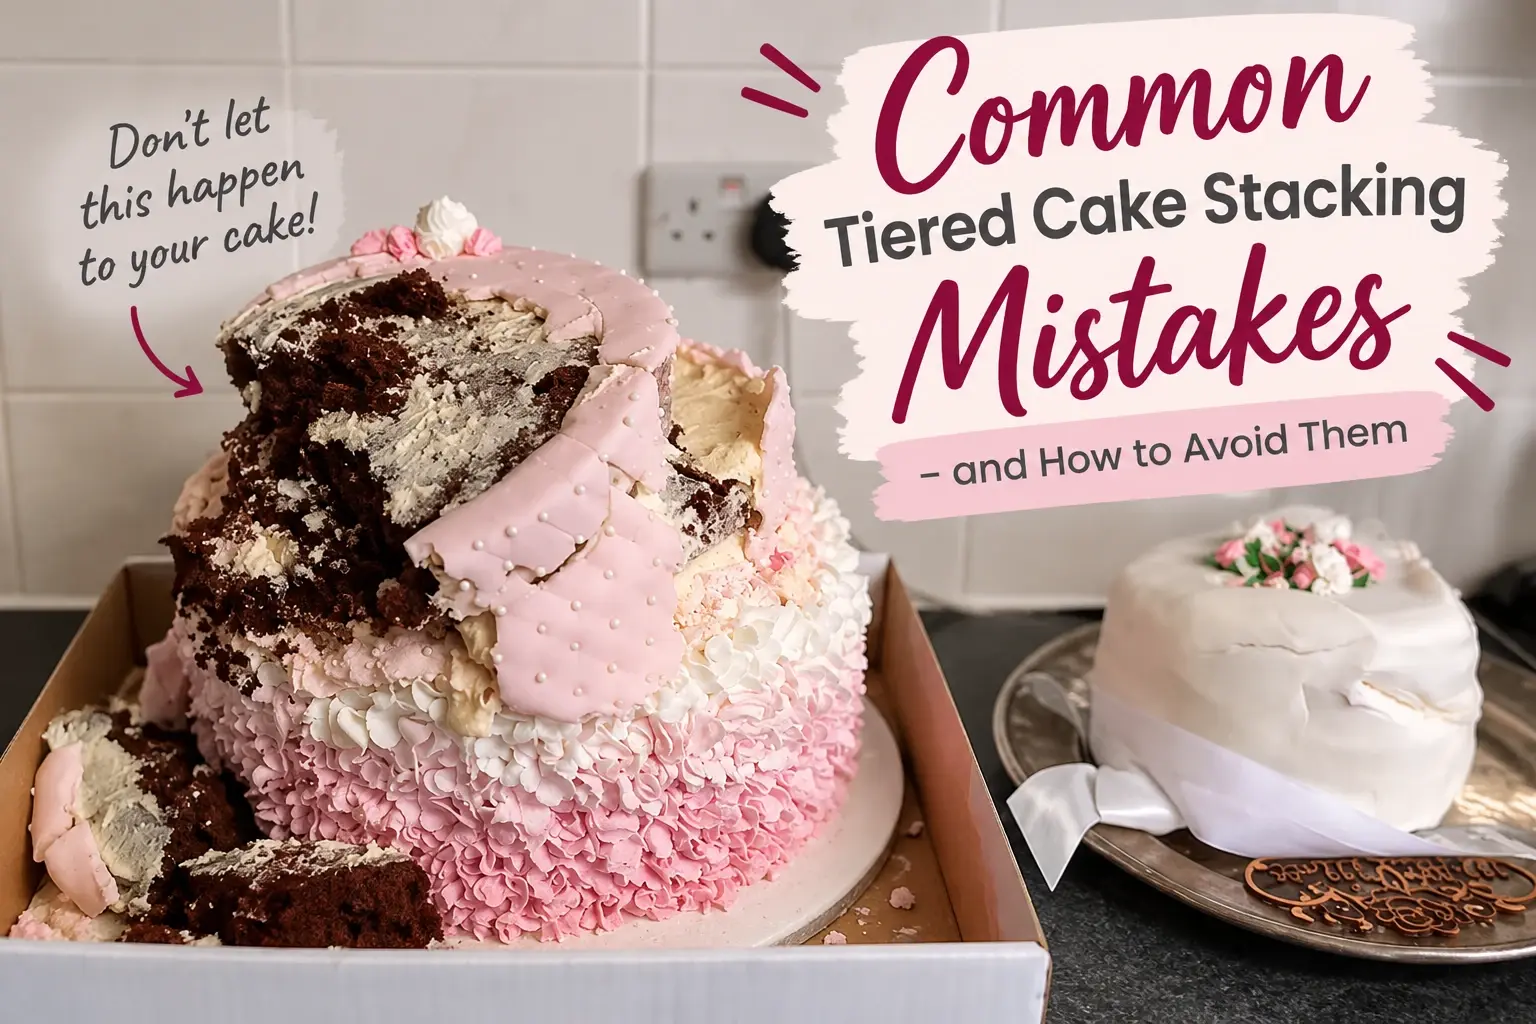
How to Stack a Tiered Cake Safely
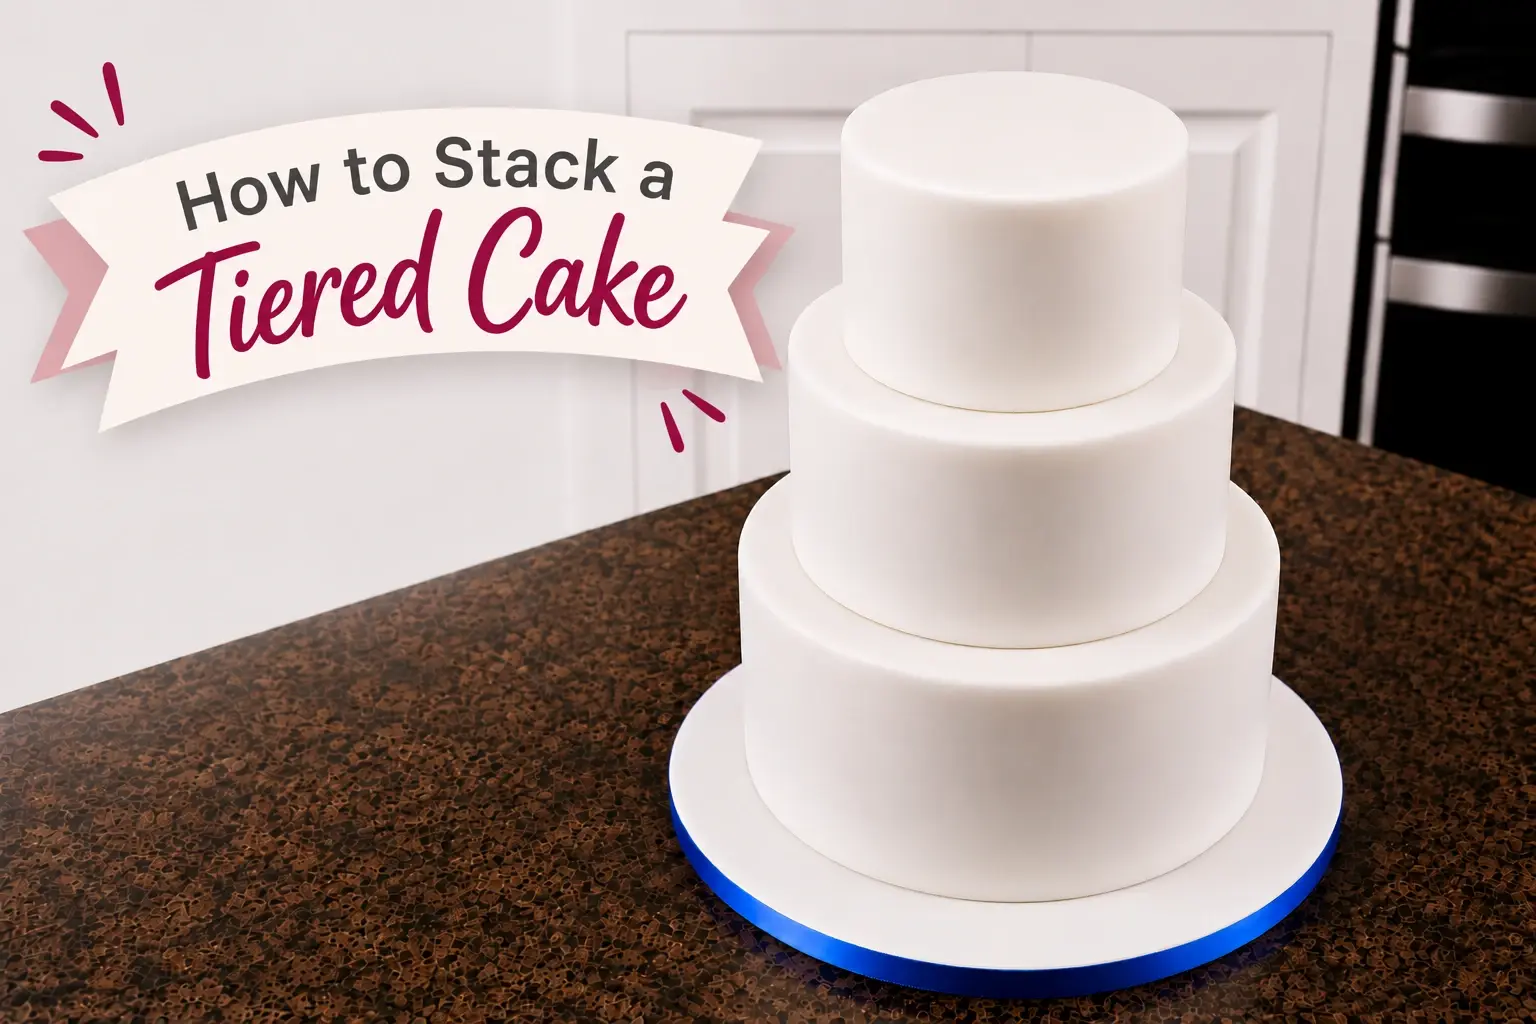
There’s something special about seeing a tiered cake finally come together, but if you’ve never stacked one before, placing one beautifully decorated cake on top of another can feel a little nerve wracking.
The secret to a sturdy tiered cake is all in the support!
Whether you’re making a small two tier birthday cake or a large scale multi tier wedding cake, the right combination of cake boards, cards and dowels will help support the weight of each tier. And if your finished cake needs to travel, a central support system can give your cake added stability for the journey.
Here’s how to stack a tiered cake safely:
What do you need to stack a tiered cake?
Before you start, you’ll need:
- A sturdy cake board or drum for the base – this holds the weight of the entire cake
- A cake card underneath each additional tier – these cards will hold each cake and the dowels will sit underneath them
- Cake dowels – each tier of your cake (aside from the top tier) will have dowels holding the tier above
- A sharp pair of scissors or suitable dowel cutter – this will cut your dowels to the correct height
- A spirit level or tool to make sure your cake is straight
- A central cake support, such as a Sturdy Cake Stacker, for added stability
Make sure your cakes are filled, covered and ready to stack before you begin. Working with cakes that have had time to firm up can make the process much easier, so consider leaving them to settle overnight before stacking.
Why do tiered cakes need dowels?
One of the most important things to remember when stacking a cake is that the cake underneath shouldn’t be supporting the weight of the cake above.
That’s the dowels’ job.
Without adequate support, the weight of the upper tiers can cause the cakes underneath to sink, bulge, lean or even collapse.
Dowels are inserted vertically into each supporting tier and the cake card underneath the next cake sits on top of them. This transfers the weight through the dowels rather than through your cake and filling. All cakes, including fruit cake, need dowels if they’re being stacked on top of each other.
Important: A central Sturdy Cake Stacker adds stability through the cake, but you should still dowel each tier as normal.
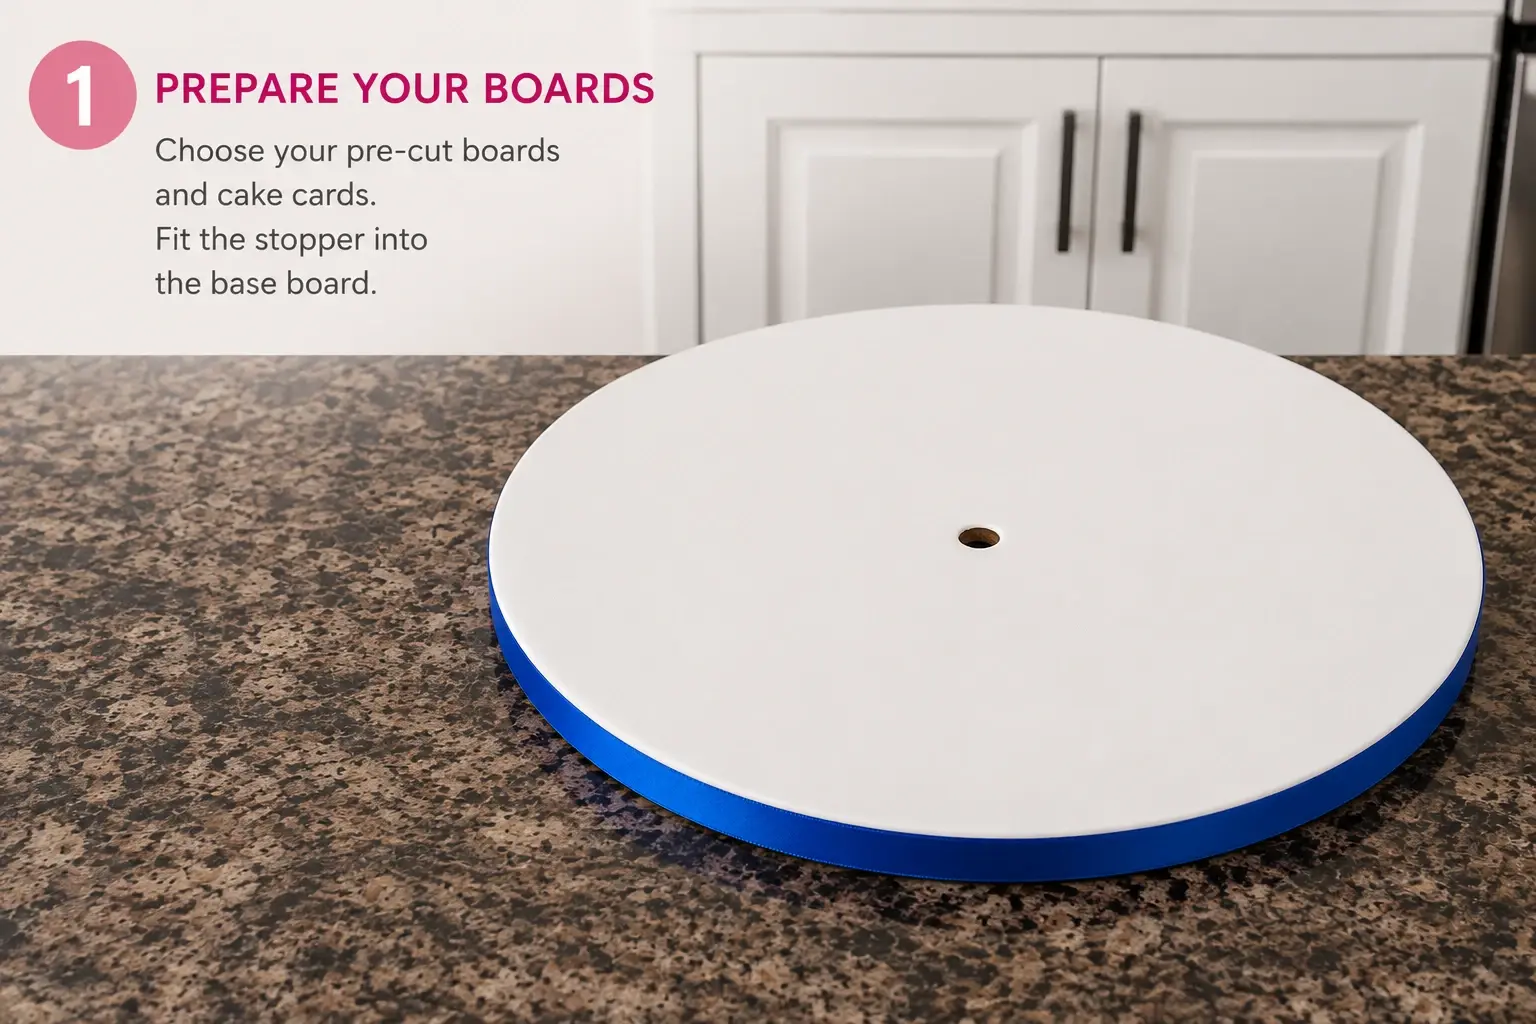
Step 1: Prepare your boards and cards
Start with your bottom cake on a sturdy cake board or drum. Your base cake goes on a drum which holds the weight of your combined cake.
Every additional cake tier should sit on its own cake card or drum. Ideally, this should be the same size and shape as the cake so that it disappears from view once your tiers are stacked.
If you’re using a Sturdy Cake Stacker, our compatible cake boards and cake cards come with the centre hole already cut. That means everything lines up with the central Stacker without drilling, cutting or trying to make a hole yourself.
Step 2: Mark where your next tier will sit
Before adding your dowels, work out exactly where the next cake will be positioned.
You can gently place a cake card the same size as your next tier onto the cake below to give yourself a guide.
Your dowels need to sit within this area so they’re positioned underneath the cake card above.
Take your time here. Getting your tiers centred from the beginning will make the finished cake look much more professional.
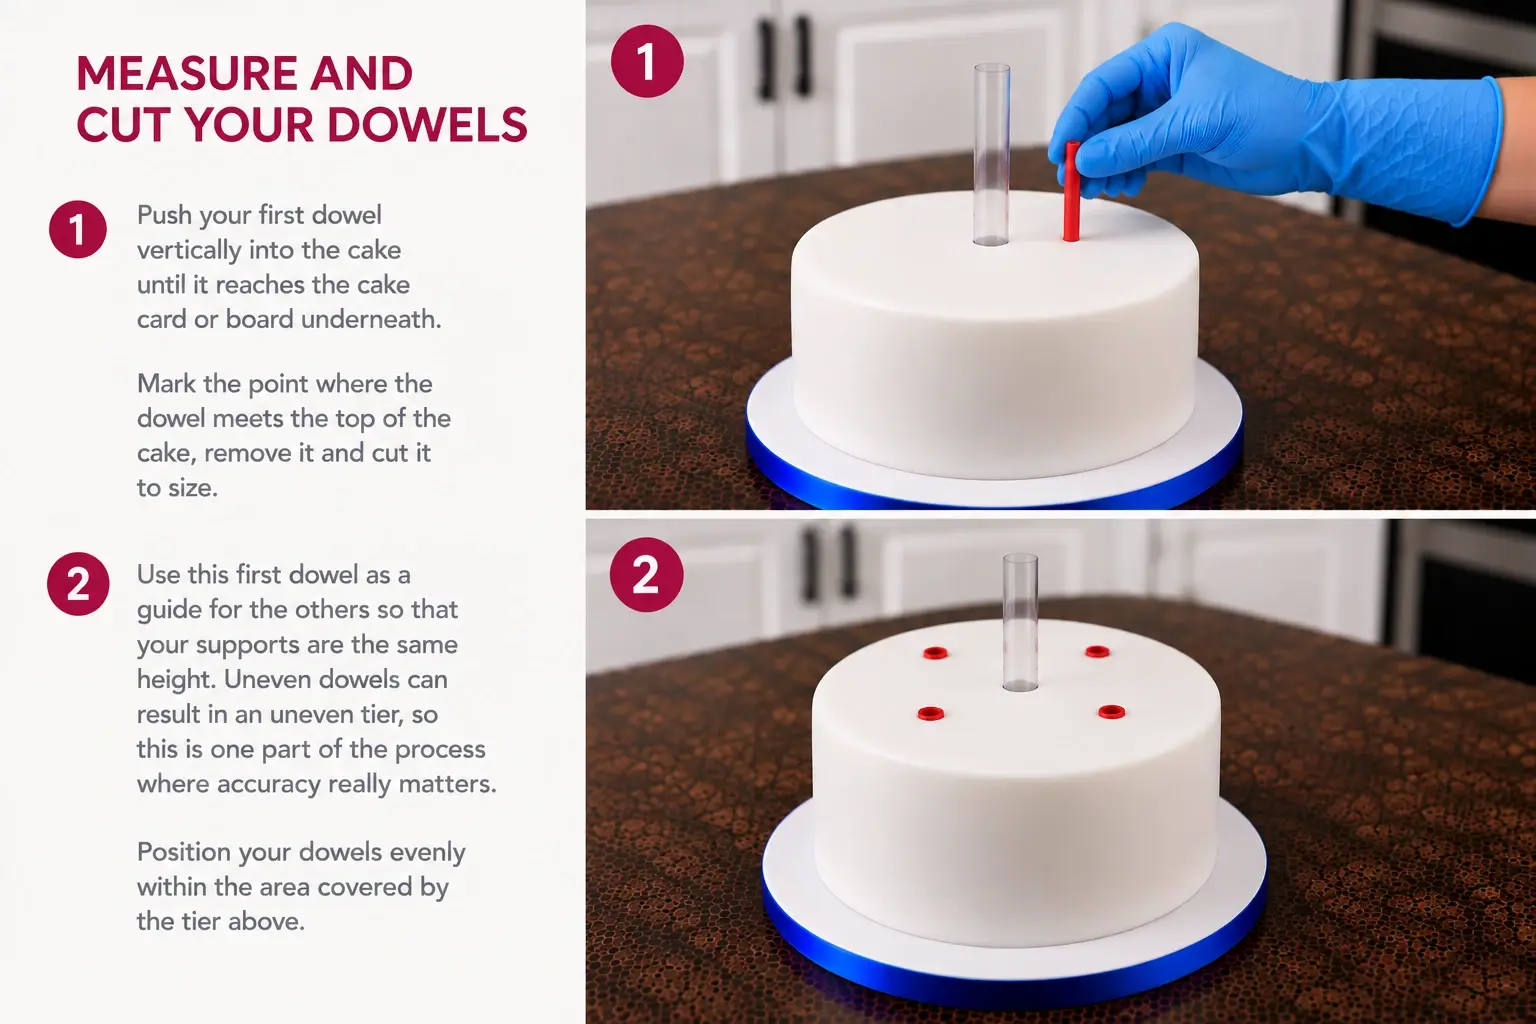
Step 3: Measure and cut your dowels
Push your first dowel vertically into the cake until it reaches the cake card or board underneath.
Mark the point where the dowel meets the top of the cake, remove it and cut it to size.
Use this first dowel as a guide for the others so that your supports are the same height. Uneven dowels can result in an uneven tier, so this is one part of the process where accuracy really matters.
Position your dowels evenly within the area covered by the tier above.
Step 4: Add your central Stacker
For cakes that need additional stability — particularly tiered cakes that are going to be transported — you can now add your Sturdy Cake Stacker.
The system creates a central spine through your cake, connecting the cake board, cake cards and tiers together.
Because our boards and cards are available with the centre holes already cut, there’s no need to hammer a wooden dowel through your finished cake or cut holes into your boards yourself.
Simply measure the height required and cut your Stacker to size. Use your stopper underneath the drum and add your pole to your cake. Layer the first cake over the drum with the pole protruding through the largest cake. Add dowels to your first tier before moving on.
Step 5: Stack your next cake tier
Now for the exciting bit.
Carefully lift your next tier, keeping it as level as possible, and line up the centre hole in its cake card with the Stacker.
Slowly lower the cake down the Stacker until the cake card rests on the dowels underneath.
Check that the tier is centred and level before moving on.
Repeat the dowelling process in the next tier before adding the following cake.
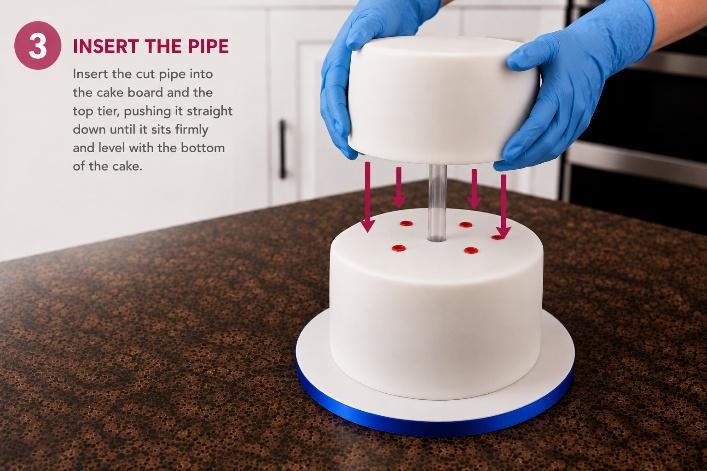
Step 6: Add your final tier
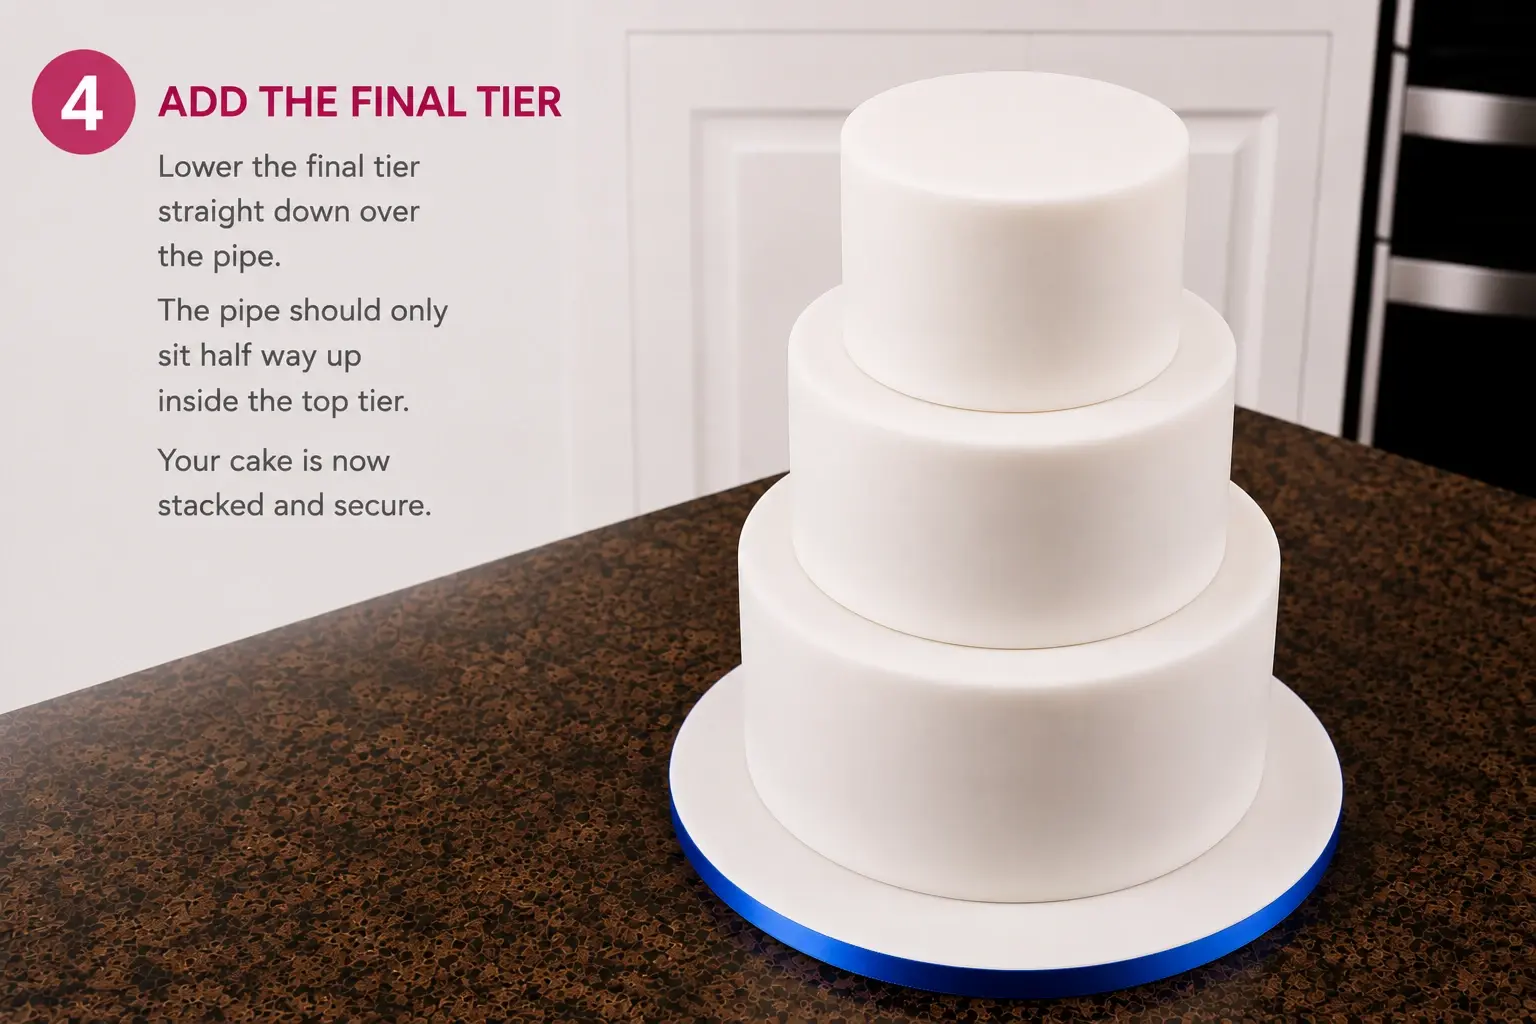
Continue stacking until you reach your final cake.
When using a Sturdy Cake Stacker, the central pipe should finish roughly halfway inside the top tier rather than coming through the top of the cake.
Once everything is in place, check the cake from every angle. Make sure the tiers are centred, level and sitting securely before adding any finishing touches.
Can you transport a tiered cake already stacked?
This is where things can get stressful.
You spend hours creating a cake, only to find yourself driving to the venue listening for every bump in the road and taking every corner at approximately three miles an hour.
A correctly supported cake is essential for transport.
Traditional dowels provide the vertical support needed to carry the weight of the tiers above. A Sturdy Cake Stacker goes one step further by adding a central connection through the cake, helping the tiers stay together during the journey.
It’s exactly why the Sturdy Cake Stacker was created: to take some of the stress out of travelling with a tiered cake.
Always place your cake on a flat, stable surface in your vehicle, make sure it cannot slide around and drive carefully. Very tall, unusually heavy or complex cakes may need additional support or assembly at the venue.